Unleash your inner artist with our guide to the art of boxing glove drawing.
Capturing the essence of power and precision, our article dives into the techniques that bring these formidable tools to life on paper.
Whether you’re an aspiring artist or a boxing enthusiast, join us in transforming blank canvases into dynamic expressions of strength and style
Boxing glove drawing (9 Step guide revealed)
Here look u at some steps to draw boxing glove.
1. Materials You’ll Need
Gather necessary materials: sketching paper, pencils (HB, 2B, 4B), eraser, and a reference image of a boxing glove. These tools will enable you to accurately depict the glove’s form, textures, and shading in your drawing.

2. Sketching the Basic Shape
Outline the basic shape of the boxing glove using a light HB pencil.
Begin with a simple oval for the main portion and elongated curves for the fingers and wrist area.
This rough sketch serves as a foundation for adding details and refining the glove’s structure in later stages.
3. Adding Details to the Gloves
Enhance the sketch by adding intricate details to the boxing glove. Use a darker 2B or 4B pencil to define the glove’s contours, stitching lines, and the laces that secure it.
Pay attention to the textures and folds, ensuring accuracy with the reference image. These details bring realism and depth to your drawing.
Here why does boxing glove weight matter?
4. Emphasizing Shadows and Highlights
To enhance your boxing glove drawing, focus on accentuating shadows and highlights. Apply darker shading with a 2B or 4B pencil to areas where light is less intense.
Conversely, leave lighter areas to represent where light hits the glove.
Refer to your image source for proper light and shadow placement, lending a lifelike 3D quality to your illustration.
5. Drawing Wrists and Straps
Illustrate the wrists and straps of the boxing glove. Use precise lines to depict the wrist’s contours and any overlapping straps.
Employ lighter shading for areas under tension, and slightly darker tones for areas where straps curve away.
This step adds authenticity to your drawing, capturing the glove’s secure and functional appearance.
6. Enhancing Realism with Texture
Enhance realism by adding texture to the boxing glove drawing.
Employ light, controlled strokes to mimic the glove’s surface texture, capturing elements like leather grain and stitching details.
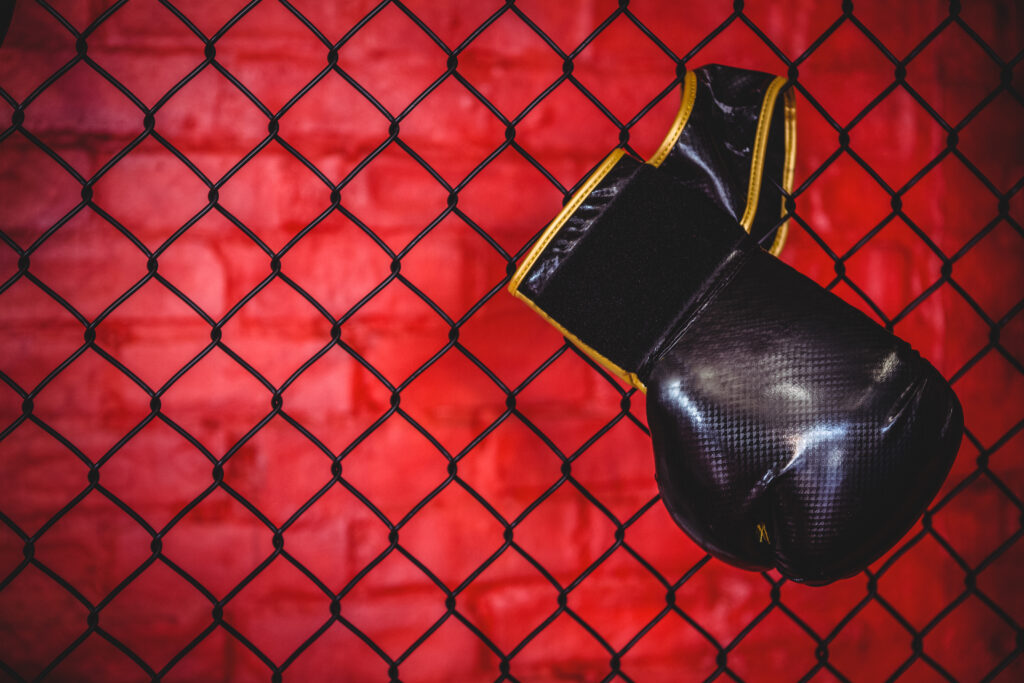
Boxing glove hanging on wire mesh fence in fitness studio
Use a combination of pencils to achieve varying levels of darkness, ensuring the texture aligns with the glove’s material. This step adds depth and tactile realism.
Here is how to equip a boxing glove in ro boxing game.
7. Adding Personalized Elements
Infuse your boxing glove drawing with personal touches. Consider incorporating your unique style or adding initials, logos, or designs.
Use fine lines and careful shading to integrate these elements seamlessly into the glove’s surface.
Personalization adds a distinct character to your artwork, making it more meaningful and reflective of your creativity.
8. Blending and Smudging
Refine your boxing glove drawing by blending and smudging.
Employ a blending stump or your fingertip to softly merge pencil strokes, creating smoother transitions between light and shadow areas.
This technique enhances the overall realism of the drawing, giving it a polished and professional appearance.
9. Final Touches
Apply final touches to perfect your boxing glove drawing. Review the artwork for any areas needing adjustments. Enhance contrasts, refine details, and ensure a balanced composition.
Take a step back to assess the overall result, making any necessary refinements. This stage ensures your drawing is complete and ready for presentation.
Here what boxing glove oz knock you out?
Let move to some related faq’s
Related faq’s


