
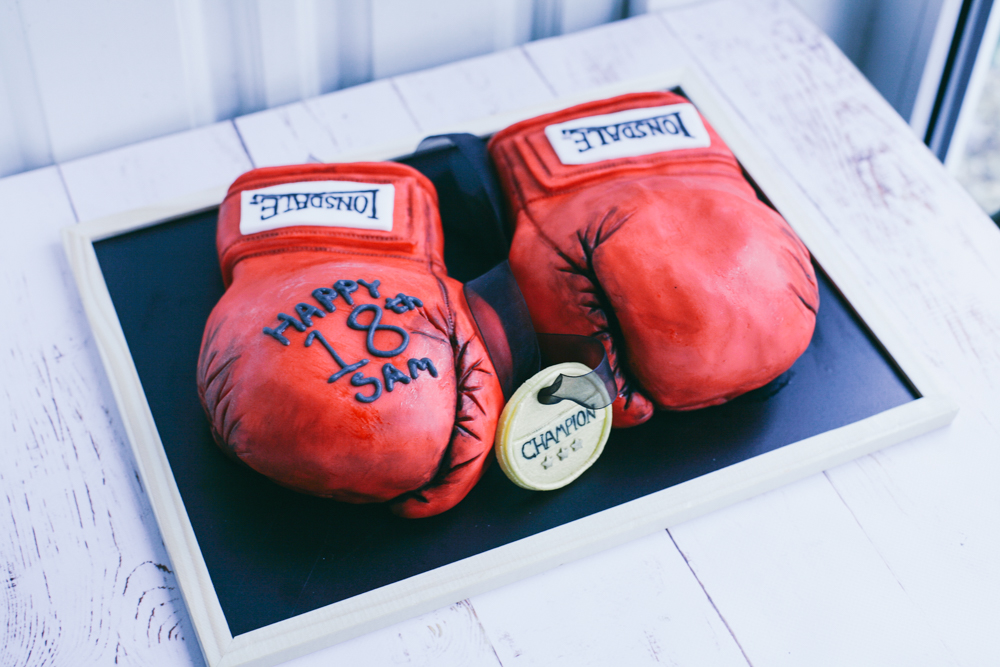
Are you a boxing enthusiast or know someone who is? Want to create a unique and exciting treat for your next boxing-themed party or event? Look no further than the boxing glove cake!
In this article, we will guide you through the steps on how to make boxing glove cakes that are sure to impress.
Firstly, gather your ingredients and tools, including cake mix, fondant, food coloring, and gloves to use as a template.
Follow the instructions to bake the cake and shape it into a boxing glove, then cover it with fondant and add the finishing touches.
With over 20 years of experience in the baking industry, renowned pastry chef Maria Lopez will share her expert tips and tricks for making the perfect boxing glove cake.
From creating realistic textures to adding personalized details, this article has everything you need to make your boxing glove cake stand out.
So, whether you’re a professional baker or a beginner, get ready to wow your guests with a delicious and impressive boxing glove cake.
Let’s jump into the ring and get started!
How to make boxing glove cake? 7 Steps revealed
Making a boxing glove cake can be a fun and creative way to celebrate a boxing event or a boxing enthusiast’s birthday.
Here are 7 steps to help you make a boxing glove cake:
Step 1: Gather ingredients and materials
To make a boxing glove cake, you will need the following ingredients:
- Cake mix or ingredients to make a cake from scratch
- Buttercream frosting or fondant icing
- Red and black food coloring
- Piping bags and tips
- A boxing glove template
- A cake board
- A knife or cake leveler
Step 2: Bake the cake
Bake two rectangular cakes according to the instructions on the box or recipe. Once they are baked, let them cool for a few minutes and then remove them from the pans. Let them cool completely.
Step 3: Cut and shape the cakes
Place the cake templates on top of the cooled cakes and use a knife to cut out the shape of the boxing gloves. Then, use the knife or cake leveler to shape the cake into a curved shape like a boxing glove.
Step 4: Frost the cake
Use buttercream frosting or fondant icing to cover the cake. You can dye the frosting red or black, or use the frosting to create a red and black design on the cake. Smooth out the frosting with a spatula or cake smoother.
Step 5: Add details to the gloves
Use piping bags and tips to create the details on the gloves, such as the laces, stitching, and logos. You can use a different color frosting for the details or use fondant icing to create them.
Step 6: Attach the gloves to the cake board
Use a little bit of frosting or icing to attach the boxing gloves to the cake board. Make sure they are evenly spaced and centered on the board.
Step 7: Display and enjoy
Once the cake is complete, you can display it on a table or cake stand. Make sure to take plenty of pictures before cutting into it and enjoying the delicious cake!
By following these 7 steps, you can create a stunning and delicious boxing glove cake that is sure to impress boxing fans and cake lovers alike.
Now let’s move to some related faq’s


